Setting up your own blog is easier now (in 2022) than it’s ever been. Within 30 minutes of purchasing a domain, you can literally be publishing your first blog post. That’s how quick it is now.
Here are the steps you need to follow to set up your own blog on a self-hosted domain:
Step 1: Choose a Web Host
The first thing to do is choose a
I use WP Engine because it delivers lightning-fast load times and ensures that my website passes the Core Web Vitals assessment with flying colors.
Step #2: Configure WordPress
Now head over to your new WordPress dashboard, using this URL (replace mydomain with your actual domain):
www.mydomain.com/wp-admin/
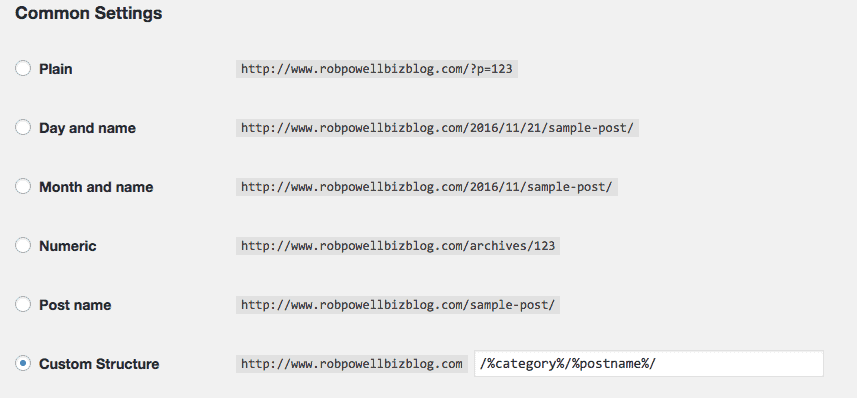
In the WP Dashboard go to ‘Settings’ and then ‘Permalinks’:
In the next screen check the radio button for ‘Custom Structure’ and enter this code in the empty field: /%category%/%postname%/
Install Plugins
You now need to download these 5 FREE Plugins that I use for all new websites:
- WPForms Lite
- Elementor (free version)
- SiteOrigin Widgets Bundle
- Pretty Link Lite
- Shortcodes Ultimate
To install these plugins, simply follow this procedure for each Plugin:
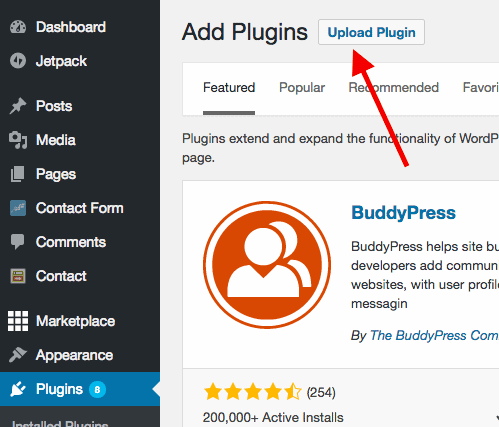
Go to ‘Plugins’, and ‘Add New’:
Click ‘Upload Plugin’.
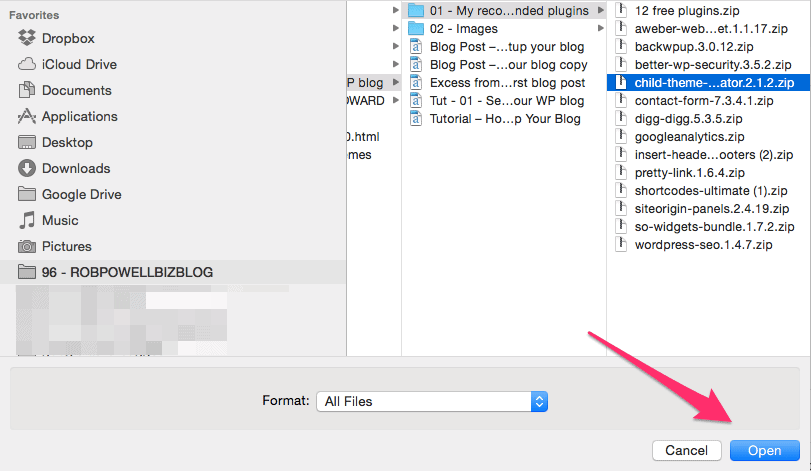
Then use the ‘Choose File’ button to navigate to the folder on your computer that contains the Plugin.

Select the plugin you want to install and click ‘Open’.
Then click ‘Install Now’.

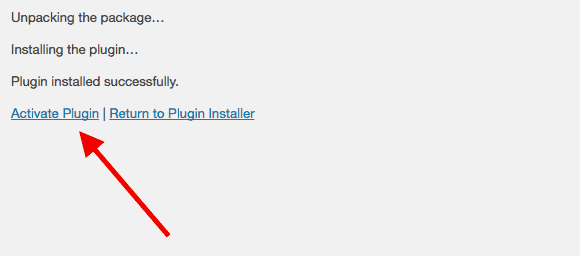
Once the plugin has installed, click Activate Plugin:
Rinse and repeat for all remaining 5 plugins.
Connect Google Analytics with Google Search Console
Discovering the keywords that people use to find your site is vital.
Armed with that information you can optimize your pages – when you see that a certain page of your is being found for a particular keyword, you can optimize the page for that keyword, so that your page rises up in the search results for that keyword (or search query, to be more accurate).
But there’s one problem.
Google Analytics won’t show you what keywords people are typing in to find your pages unless you have connected Google Analytics with Google Search Console (used to be called Google Webmaster Tools).
Connecting Analytics with the Search Console involves a few steps and can be quite tricky. But this video sets out the process in a very clear and easy-to-follow manner. It’s well worth watching!
Step 3: Choose a WordPress Theme
There are plenty of free WordPress themes but I strongly recommend you get a Premium theme, for a number of reasons:
1. Stand Out From the Crowd
If you use a free theme there will be thousands, possibly tens of thousands, of other blogs using exactly the same theme – it makes it that bit harder to stand out from the crowd.
2. Responsive Design
With a Premium theme you’re much more likely to get a responsive design, one that looks good on both desktop and mobile browsers.
3.Functionality
Most Premium themes come with a number of different layout options and designs. If you want to change the look of a free theme you’ll have to spend a lot of time writing code and messing around with PHP and CSS.
4. Support
This is probably the most important factor. Sooner or later, I can promise you, you are going to need some help with some aspect of your theme. With a Premium theme you will usually get 6 months to a year of free support included in the price. Obviously, there is no support for a free theme.
So, how to choose a theme?
This is really a matter of personal taste. Because I’m focused entirely on SEO, I need a theme that loads fast. And one of the fastest themes out there (possibly the fastest) is GeneratePress.
For more information, read my review of GeneratePress.
Step 4: Create Your First Blog Post
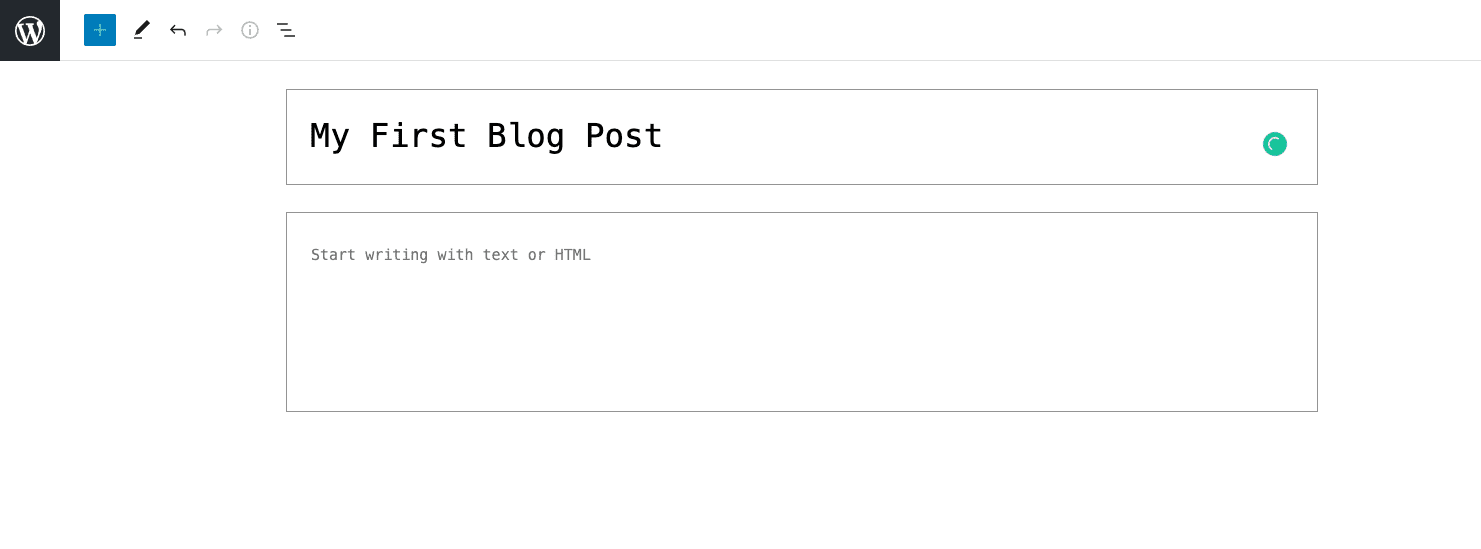
Then just start typing into the Gutenberg editor that comes (free) with WordPress:
If you need help on how to write your first blog post, check out my article: How to Write Your First Blog Post – 17 Tips For Best Results.
Also, make sure to read all my blogging articles in the list below.